Mac Mail
How to for adding epbfi.com email addresses to Mac Mail
Add New Account
Startup
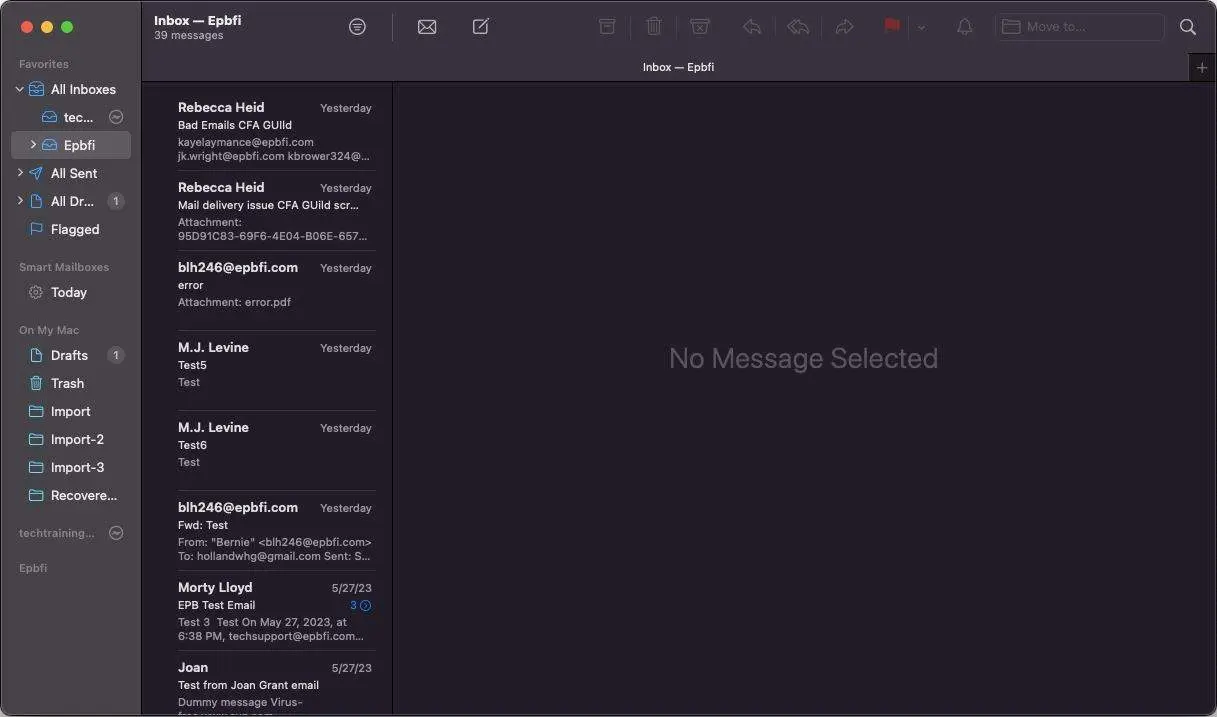
The program starts up looking like this. Click on File at the top left.
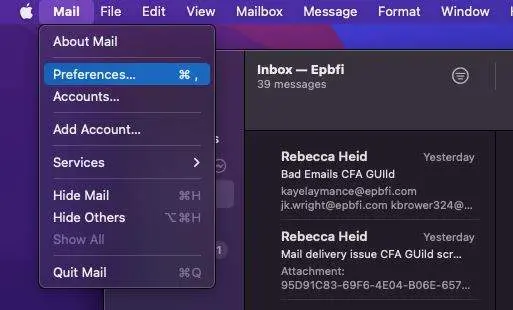
Open Preferences
- Move to the very top of the screen.
- Click on Mail
- Click Preferences.
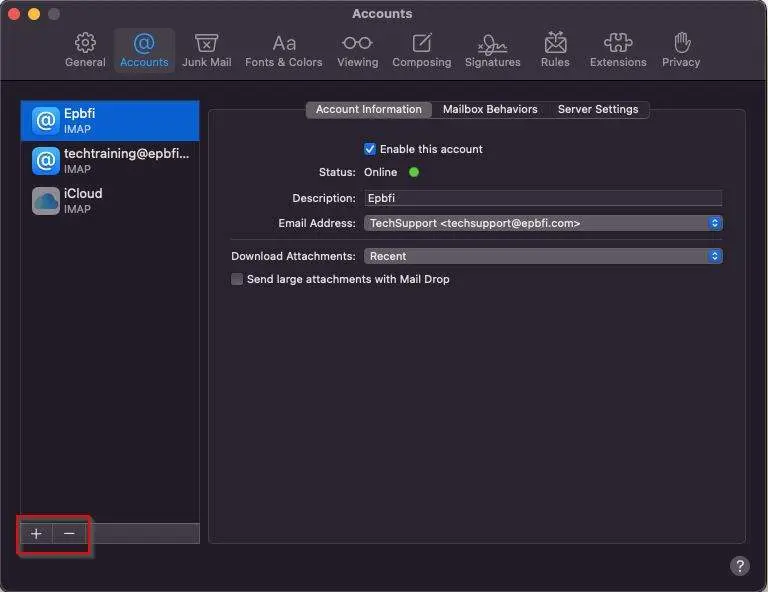
Switch to Accounts at the top, then click Add.
- At the top of the window, click on Accounts.
- Click on the plus in the bottom left.
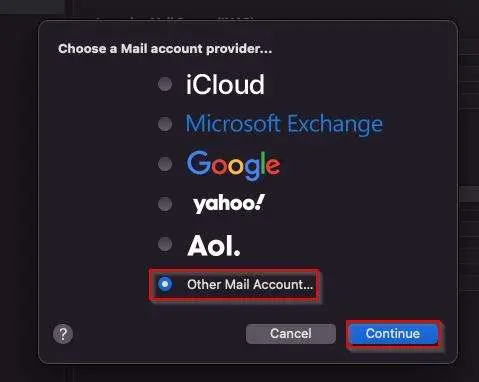
Set the provider.
- Choose Other Mail account.
- Click continue.
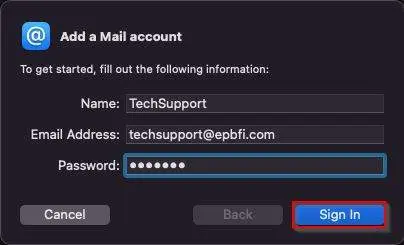
Fill in basic info
- Name is what people see when they get an email from you instead of just your email address.
- Enter the email address.
- Enter the password.
- Click Sign In
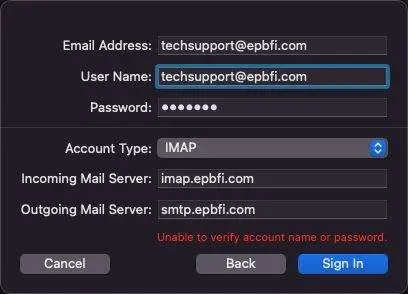
Fill in more info
Enter the username and password after the servers because it will clear them out when you change Incoming Mail Server.
- Verify the email address.
- Enter the incoming mail server.
- Enter the outgoing mail server.
- Enter the username.
- Enter the password (if it cleared it out too).
- Click on Sign in.
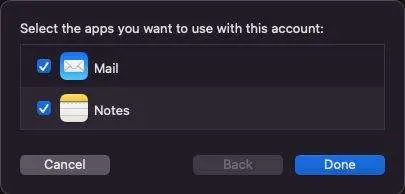
Choose Apps
- Turn on Mail.
- Turn on Notes.
- Click on Done.
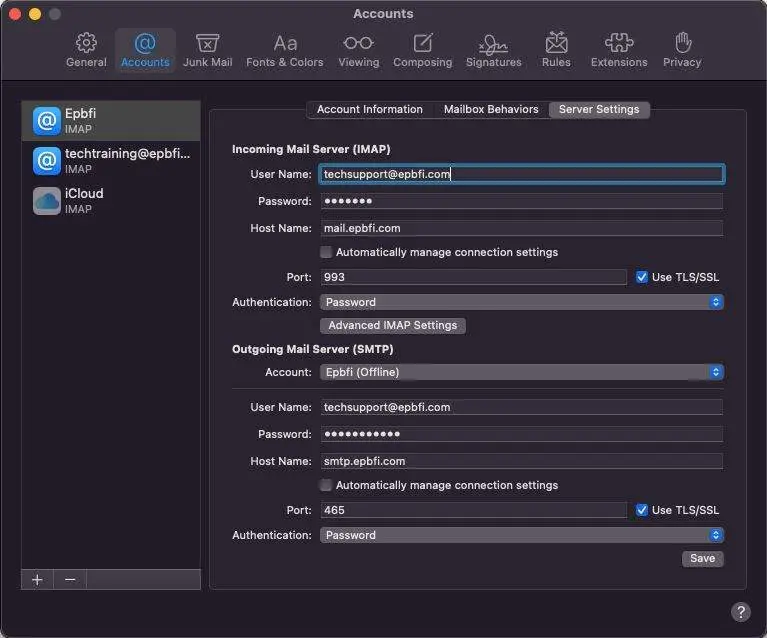
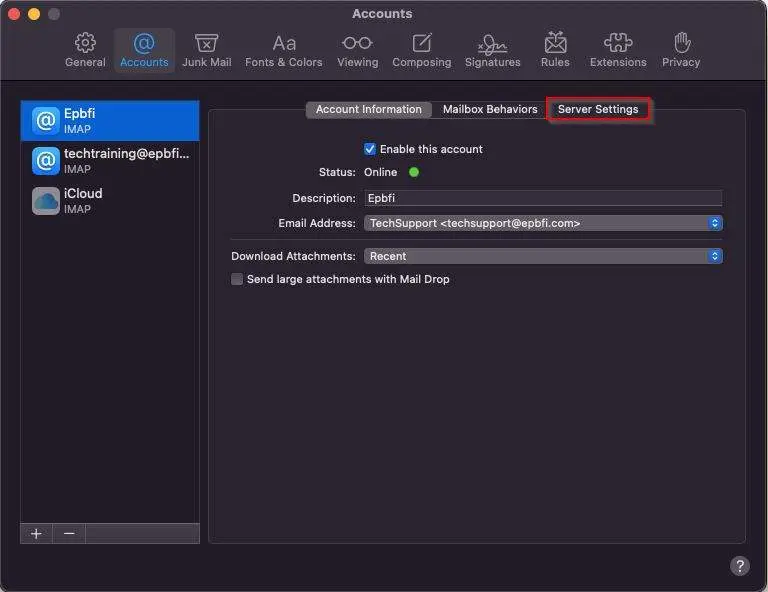
Go to Server Settings (on the right)
Set the port settings.
- Uncheck Automatically manage connection settings on BOTH incoming and outgoing.
- Set the incoming port.
- Check the box for TLS/SSL.
- Set the outgoing port.
- Check the box for TLS/SSL.
- Make sure the username and password is in here.
- Click Save on the bottom right. (This only appears when you change something in here)

Update Password
Startup
The program starts up looking like this. Click on File at the top left.
Open Preferences
- Move to the very top of the screen.
- Click on Mail
- Click Preferences.
Click on Accounts at the top, then Server Settings (on the right)
- Click on Account Settings.
- Click on Server Settings.

Update password and set the port settings.
- Uncheck Automatically manage connection settings on BOTH incoming and outgoing.
- Set the incoming port.
- Check the box for TLS/SSL.
- Set the outgoing port.
- Check the box for TLS/SSL.
- Make sure the username and password is in here.
- Click Save on the bottom right. (This only appears when you change something in here)